1. Wooden Coasters
Basic wooden coasters are one of the easiest and most touching gifts that you can make for woodworking. It is convenient, can be stylish or as plain as you wish depending on the preference of the recipient. No matter if you decide to leave them in their raw state of natural wood or paint on any design of your choice or engrave names/initials on them, these coasters are best given as gifts on any occasion.
Materials Needed:
Hardwood (Oak, Walnut or Maple is recommended).
Staining, painting or varnishing (with optional stain)
For the creation of the logo, one can use wood burning tool or stencils.
How to Build:
Cut the Wood: To start with, saw hardwood into small pieces usually in the form of 4’4 inches square. You can even input the dimensions to be adjusted according to taste or the size of the glasses they shall contain.
Sand and Shape: Plain the exterior and sides of each coaster so that the surface of the coasters are not rough to touch. Sand the edges with sand paper or use router to have better finishing than the normal finish.
Add Personal Touches: This can simply be done by using a wood burning tool to carve the design, the initials or even a special date on the wood. In another case, a stencil is placed on the intended region to be painted so that one paints on specific designs or patterns.
Seal the Coasters: Seal it with the special coat to prevent moisture or stains like varnish or polyurethane to cover the wooden surface.
Master Tip: stack them neatly and place them in a basket and tie the coasters with a beautiful ribbon, or simply place the coasters in a pretty box.
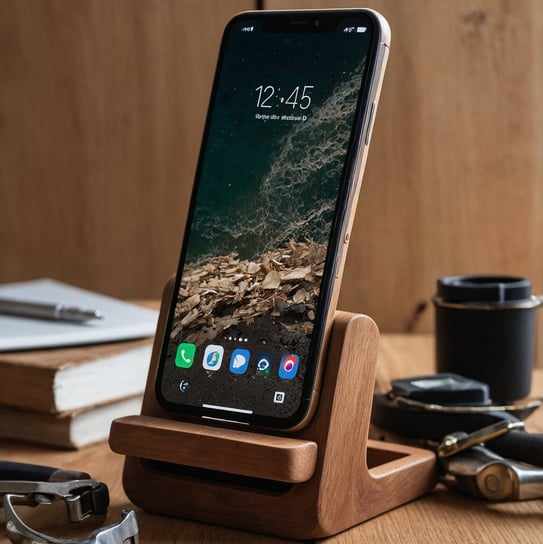
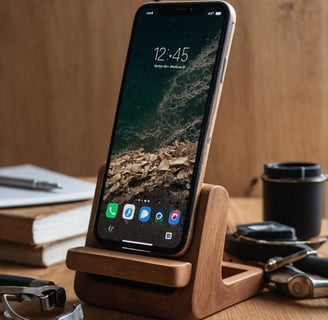
2. Wooden Phone Stand
A wooden phone stand is one of the perfect gifts that any individual can be able to gift being that everyone uses a phone. That’s useful for keeping a phone in an upright position when watching videos, during video call, or just to avoid the phone laying on the desk or nightstand. This project is easy to make and one can add different wood stains or carve different designs on the wood used.
Materials Needed:
Wood: see individual woods, certain woods such as walnut or cherry fall under this category.
Varnish or finish
How to Build:
Cut the Base and Slot: First of all, you’ll need to make the bottom part of the tray out of wood, although it can be as simple as a rectangle in shape. It should be big enough to accommodate a phone normally stretched at a size of approximately 3x6 inches. Then cut a small groove/ slot at some angle to be able to hold the phone in an upright position. It should be deep enough to accommodate the phone snugly so that it does not move but should not be very broad for the same.
Smooth the Edges: Sand the entire surface and the edges so that they will be smooth to touch. It is possible to make smooth edges on the bumper or sharp depending on the design that one is preferred to.
Customize: Cut about 1/4 inch of the front of the base and glue it up to stop the phone from sliding out from the back. Wood burning designs can also be done on the stand or one may decide to stain the stand to match the decor of the recipient.
Seal and Finish: A clear coat should then be applied to seal the wood together with the beauty of the grain.
Master Tip: This project is best for trying out various types of wood in an attempt to not only achieve a dramatic look of a different color of wood on the base but also the contrasting slot piece.
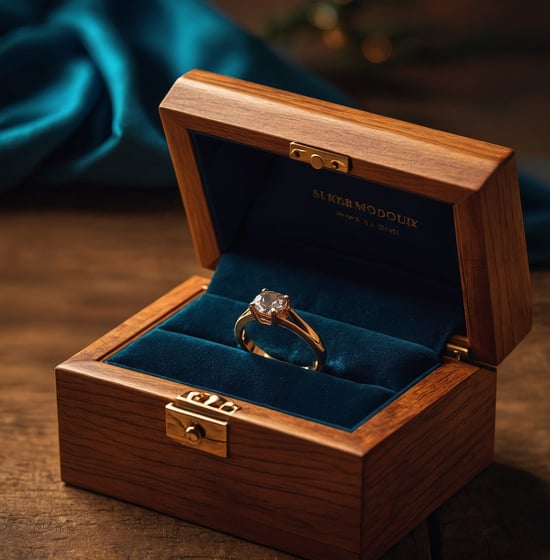
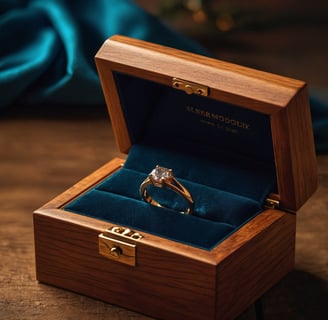
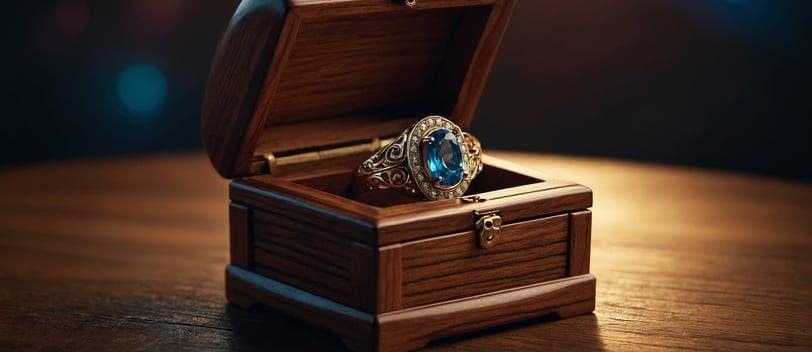
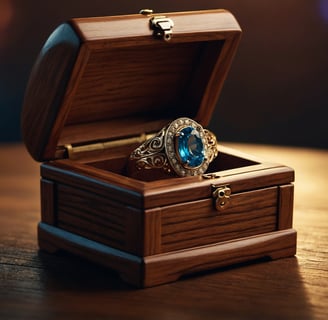
3. Wooden Jewelry Box
A wooden jewelry box is one of the best gifts that can be given to a lady who loves to have her pocket accessories well-arranged. The presentation of this project may take little more of an attention, however, it is a well artistic and ergonomic gift that would be cherished for long.
Materials Needed:
Hardwoods (including maple, oak, or cherry)
Small latch or knob
How to Build:
Design and Cut the Box: Firstly the wood needs to be cut into the desired size of the box needed. Usually you would require four walls, a bottom and a cover. If you are a beginner then the best option is to create a rectangular or a square box.
Assemble the Box: Having all the sides pressed, apply glue on all the sides, forming right angles at each corner. After that, the glue should be dried up and then fit the bottom part of the box. Additional security can be obtained with nails, but small ones are preferable to be used.
Add the Lid: Fit the small hinges at the back end of the box so that it is possible to fix the lid on the box. Ensure that; the lid opens and close without stiffness or with some resistance as it is considered a small defect.
Finish the Box: Sand all over the jewellery box, smoothing out of sharp corners. Stain or varnish the wood to enhance the grain patterns on the wood. To enhance on the appearance, it is recommended that the interior of the box be lined with velvet or felt.
Personalize: bring a tiny latch or knob from the front for the modest look or you can even engrave the handle with the initial of the name of the lucky recipient.
Master Tip: One more option that modifies the inside of the box is the use of the dividers to provide extra compartments for rings, necklaces and other small accessories.
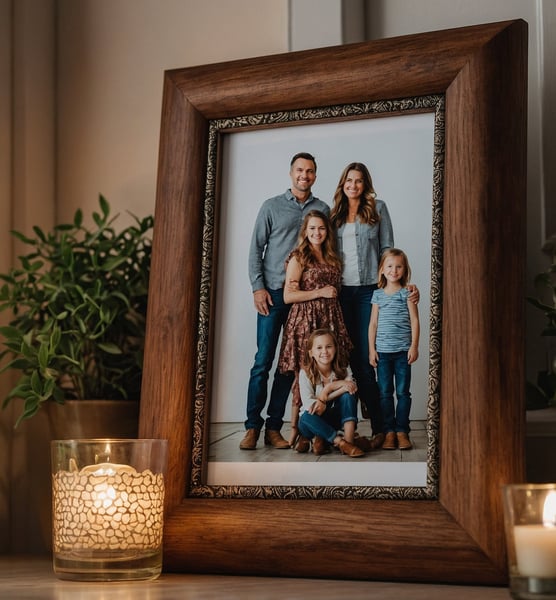
4. Wooden Picture Frame
A picture frame made from wood that would be customized to hold a picture is a good and unique gift. Categorized by size, finish as well as style, picture frames can be easily put together in large quantities and used as wedding, birthday or house warming gifts.
Materials Needed:
Hardwood or softwood strips
Glass panel (measurements required depending on the room size)
Backing material: it can be cardboard or thin plywood.
Paint or wood stain (if to be used)
How to Build:
Cut the Frame Pieces: To make the frame sides, you have to cut four pieces of wood. In case of making a rectangular frame; two of the shoes should be for the length of the picture while the other two are for the width. Cut off the edges at 45 degree angle for better finishes.
Assemble the Frame: On the mitered corners, the build should use wooden glue to hold everything in place. Before leaving the pieces clamped together, make sure these are glued together to prevent this from moving again until the glue dries. To enhance the strength of the joints you can use small nails or screws where necessary.
Add Glass and Backing: Put the glass panel right into the frame then put the picture on top of it. Screw or nail of small size on the back of the picture as required to secure the backing in position.
Finish the Frame: Sand the edges of the frame, then apply the stain and/or paint for the polished look of the frame. You can also let the wood’s color remain untouched if the aim is to achieve a more rural and homely look.
Master Tip: To add a little extra special, one may opt to have a date, or message placed along the lower or the sides of the frame.
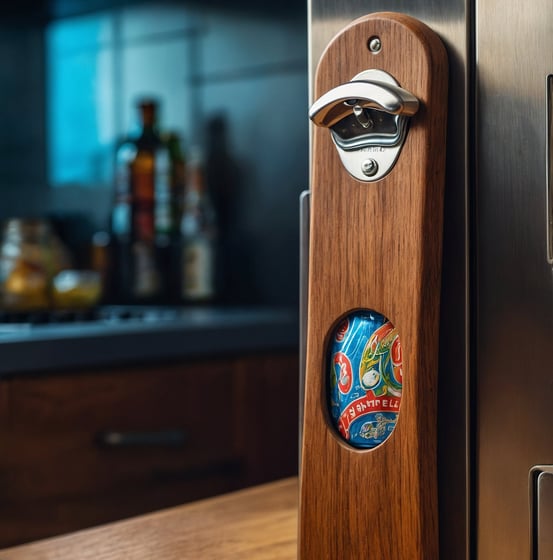
5. Wooden Bottle Opener
Wooden bottle opener for beer is an excellent DIY gift for someone who loves organizing parties or simply savors beer in the evening. This is a fairly simple project but has a lot of options and rather a lot of functionality and versatility; it is possible to use different types of wood, different finishes and designs.
Materials Needed:
For A grade construction, the interior is made from hardwood such as walnut or oak.
Metal bottle opener insert which can be purchased from a hardware store.
Wood finish (optional)
How to Build:
Cut the Wood Base: First prepare all the raw materials by cutting a rectangular piece of wood for the base of the structure. It should be of appreciable size to accommodate the bottle opener insert with safety and snugness preferably, 4 by 8 inches.
Attach the Bottle Opener Insert: Next using screws fix the metal bottle opener to the top of wood base of the snack table. S tone your selection appropriately, and ensure that it is c entered and well secured.
Customize the Design: The wood should be sanded and a special note, such as an engraving or a paint or a stain that will complement the kitchen or his bar area of residence.
Seal and Protect: Seal utilizing a clear coat or a lacquer finish in order to provide the wood a layer of protection against moisture as well as to give it a better look.
Master Tip: There should be a small magnet attached at the back of the opener where one can collect bottle caps or a wall mount bracket.
Conclusion
These 5 small woodworking projects for perfect gifts are ideal for any skill level and provide thoughtful, handmade alternatives to store-bought presents. Whether you’re crafting practical items like a phone stand or decorative pieces like a jewelry box, each project offers a personal touch that shows the recipient how much you care.
By starting with these beginner-friendly projects, you’ll not only improve your woodworking skills but also create memorable, unique gifts that will be cherished for years to come. Plus, woodworking allows you to infuse each piece with your own style, whether it’s through custom designs, special finishes, or personalized engravings.